Most residential lighting fails at the same point: the plan. Fixtures get placed on a symmetrical ceiling grid long before anyone asks what will happen underneath them. A dining table moves half a metre, a sofa turns, and the general lighting turns into a glare source over the back of someone's head. This guide walks through the workflow we recommend to the architects who specify our fixtures — from floor plan to a finished luminaire schedule.
Start with activities, not ceilings
Print the furnished plan, not the empty one. Mark every place where a person does something specific for more than a few minutes: reading in an armchair, chopping vegetables, working at a desk, checking a mirror. These activity points need dedicated, aimable light — a recessed adjustable downlight, a wall-mounted reading light, a pendant with a defined beam. Everything else in the room is circulation and atmosphere, which need far less light than most schedules provide.
This inversion matters because the eye judges a room by contrast, not by average lux. A living room with 150 lx everywhere feels flat and bright at the same time. The same room with 250 lx pools on the table and reading corner, and 50 lx of soft ambient fill, feels calm and generous — with less installed power.
Build in three layers
First, the task layer: the activity points from your marked-up plan. In kitchens this is the worktop line, lit from directly above or slightly in front so the body doesn't shadow the work. At bedsides it is a focused reading light with its own switch — a wall luminaire with a tight beam lets one person read while the other sleeps. Above dining tables, a pendant hung so its lower edge sits roughly 60–65 cm above the surface puts light on plates and faces without blocking sightlines.
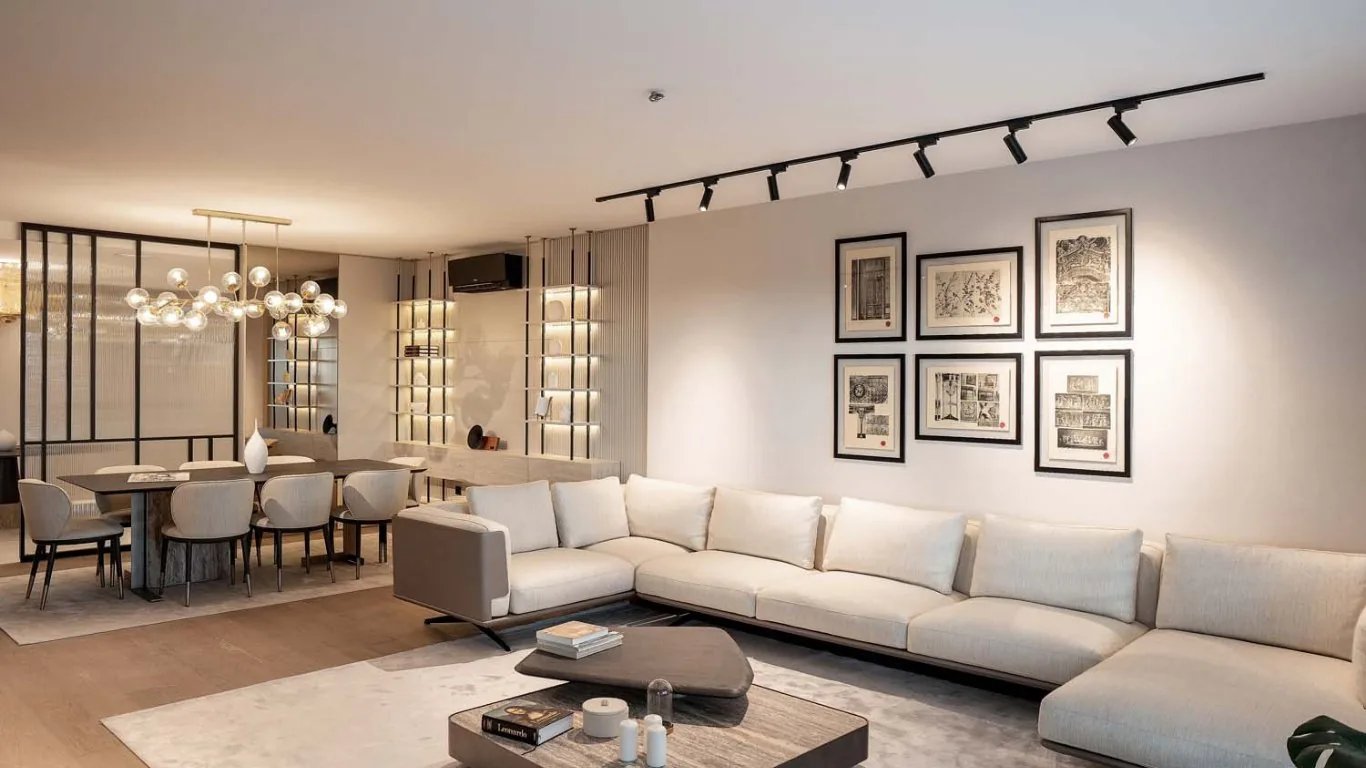
Second, the ambient layer: the fill that makes the room legible at night. Resist the urge to do this with a dense grid of downlights; walls, not floors, make a room feel bright. A few fixtures washing a wall or bookshelf, cove details along a ceiling edge, or wide-beam downlights pulled toward the room's perimeter deliver comfort with fewer points.
Third, the accent layer: a picture, a textured wall, a plant, an architectural niche. One narrow-beam adjustable spot per object is enough. Accents are also the layer to sacrifice first when budget bites — the room still works without them.
Zone the circuits before you count fixtures
Each layer should switch and dim independently, per room and sometimes per wall. As a minimum in living spaces: task circuits, ambient circuit, accent circuit. In bedrooms: general, plus each bedside independently. Dimming should be specified everywhere the family actually lives — living room, dining, bedrooms — because a residential scheme is used from breakfast to midnight and no single output level serves both.
Choose mounting types room by room
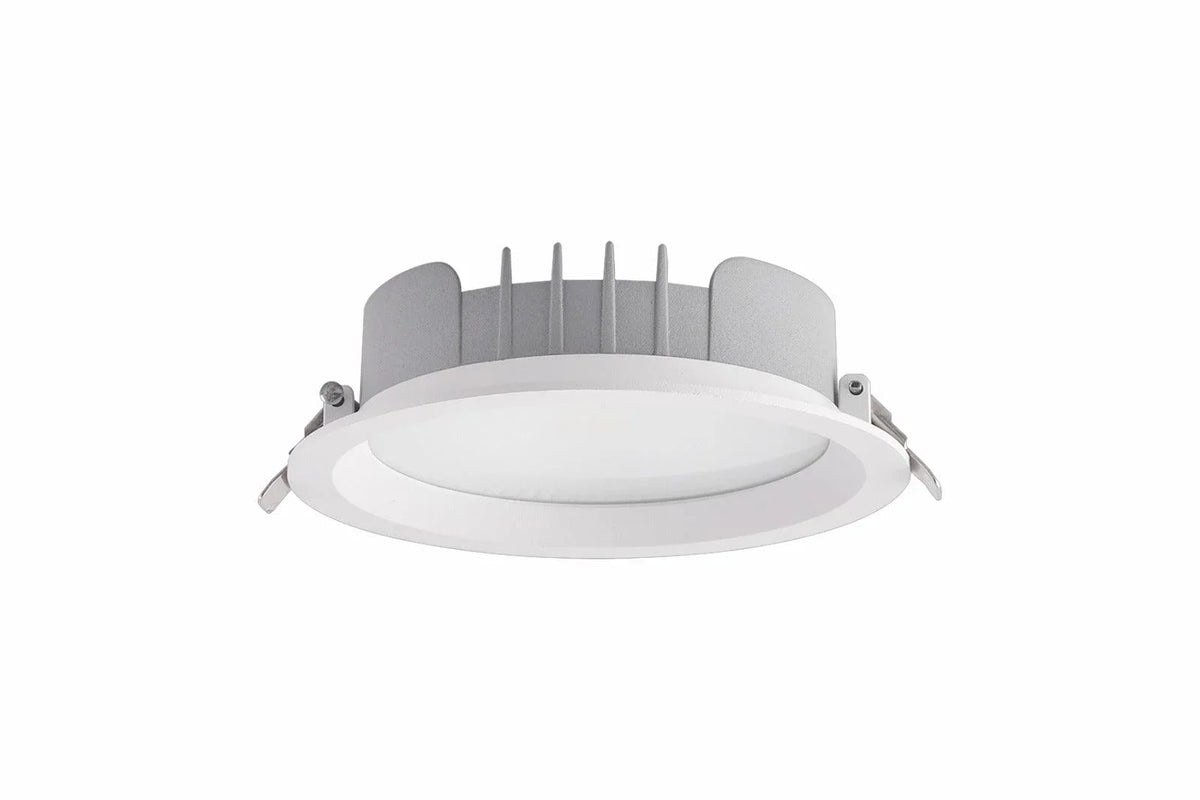
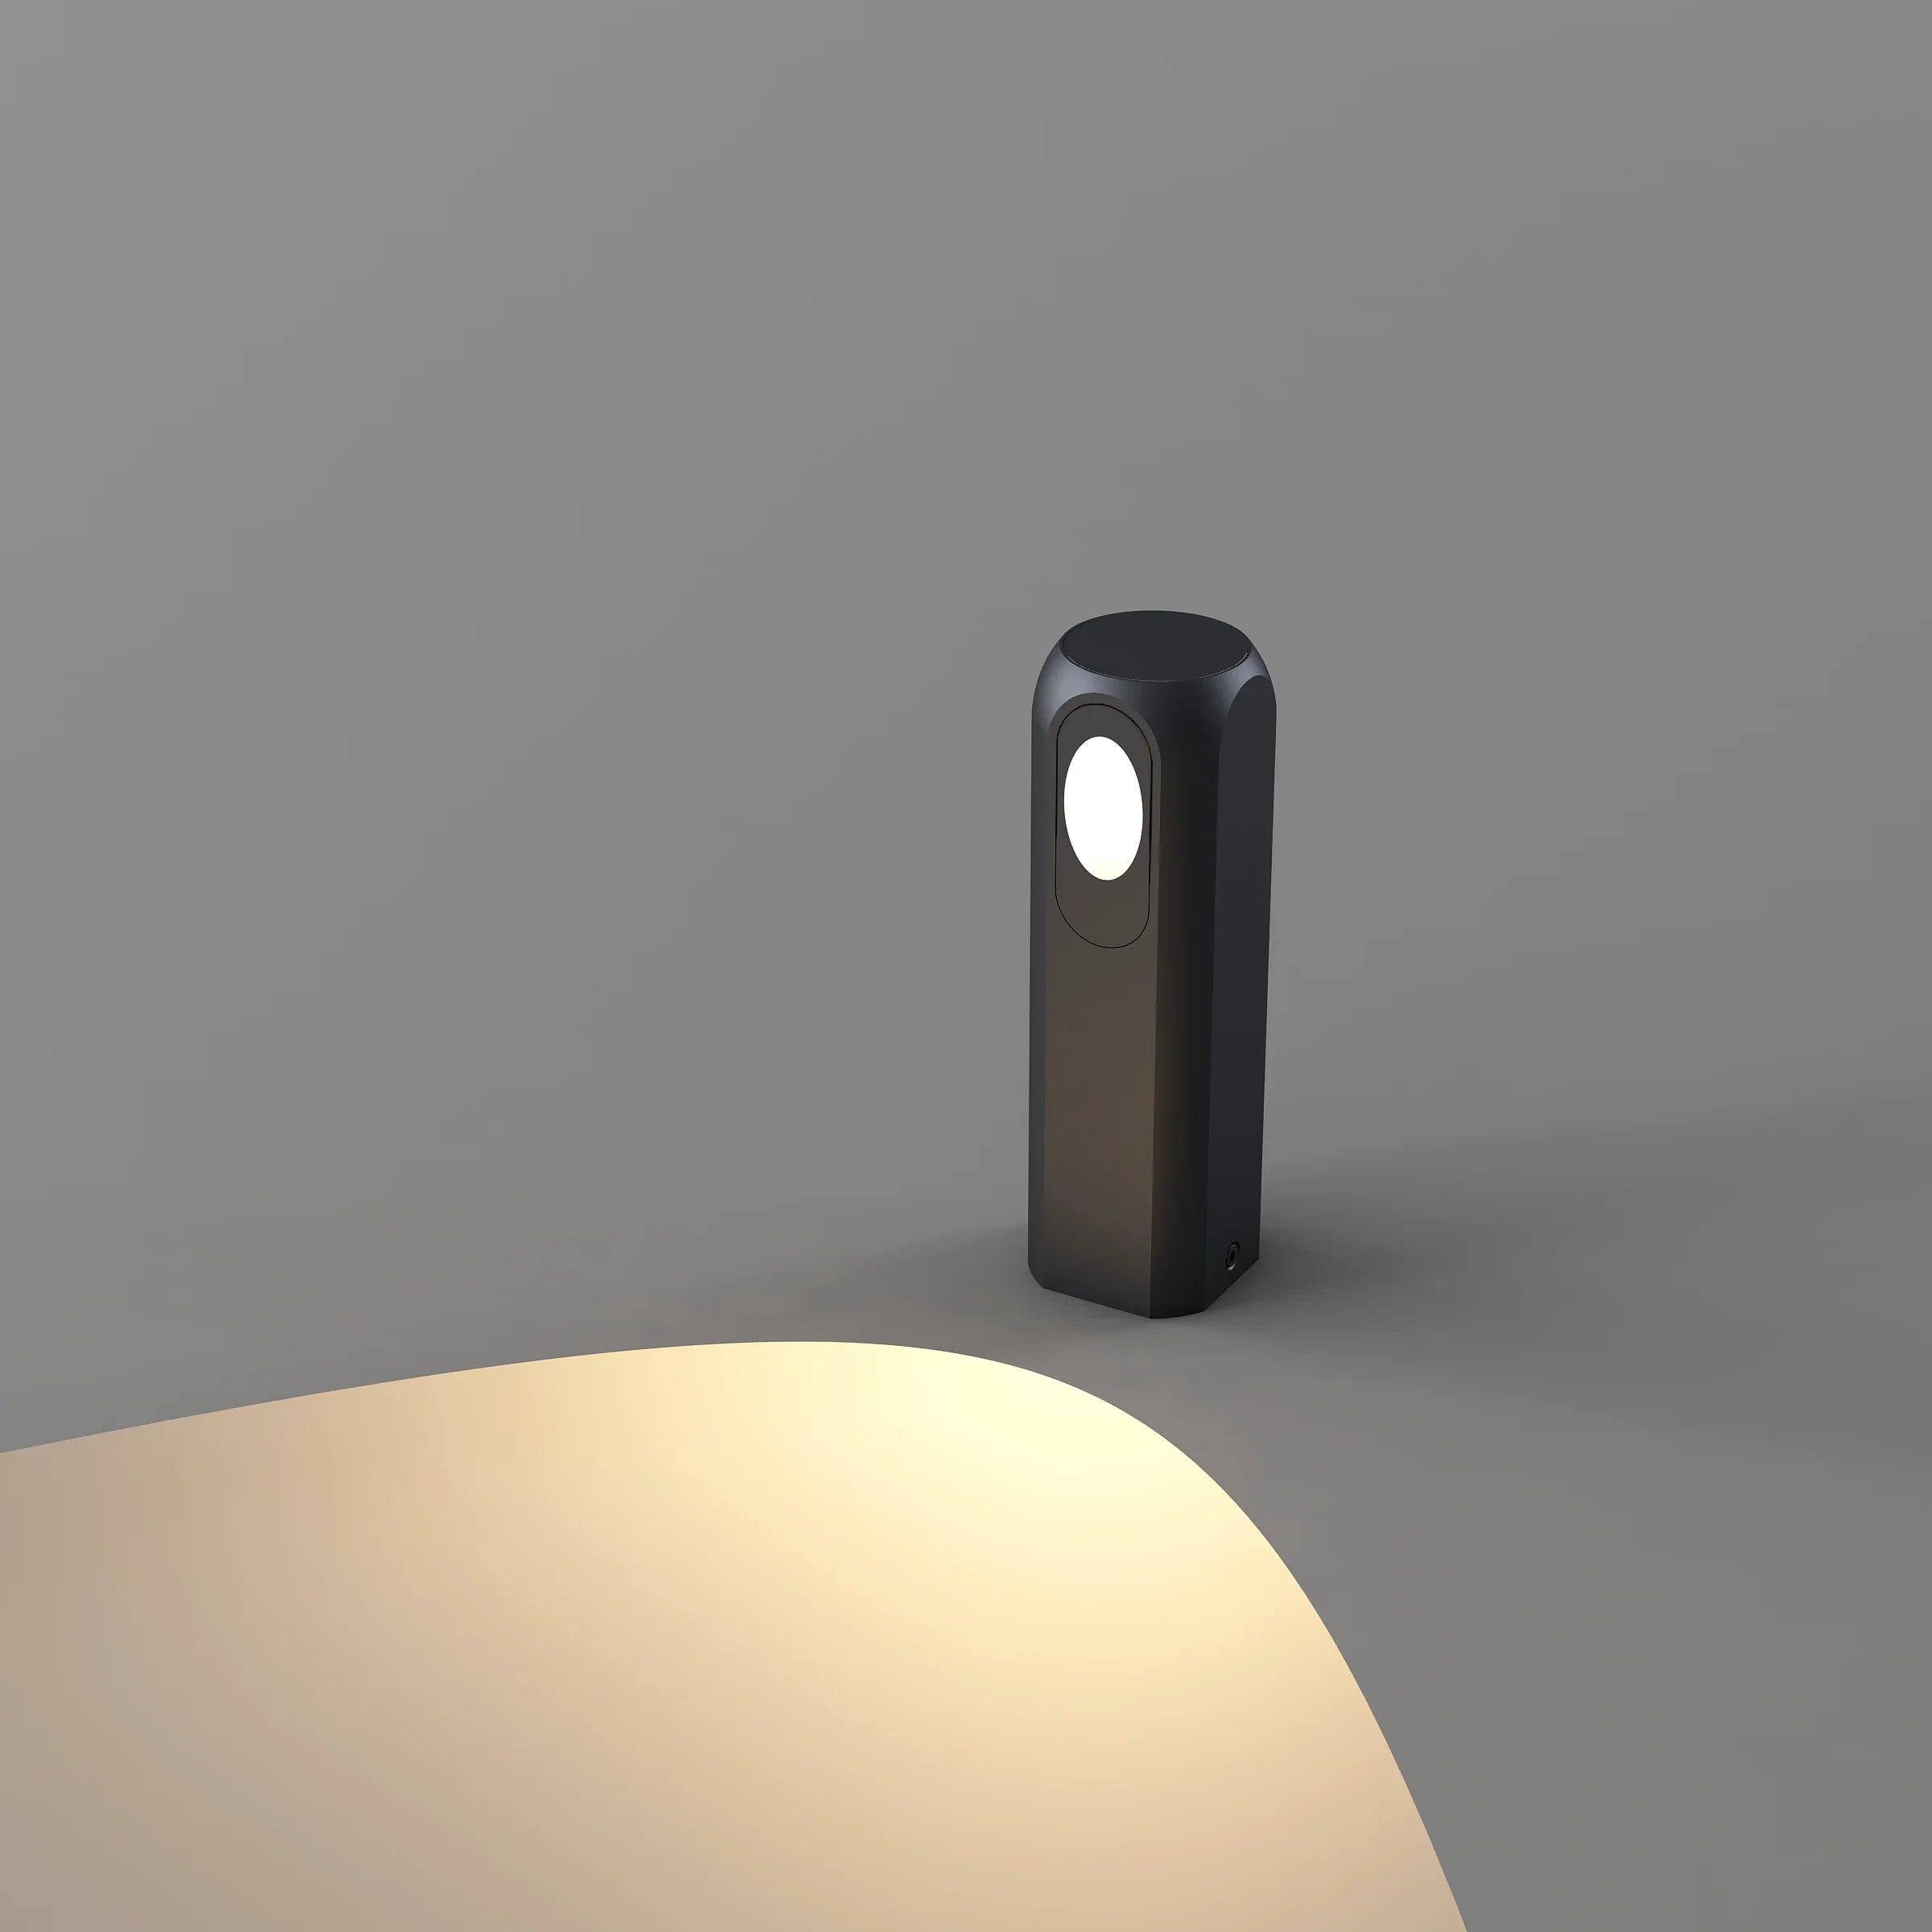
Entrances and corridors take recessed downlights on short spacings — or surface cylinders where the slab cannot be cut — placed on the walking line, not centred in the plan shape. Living rooms want minimal downlighting: combine wall washing, a pendant or floor light in the seating zone, and accents. Kitchens need continuous task light over worktops, downlights over circulation and a pendant line over islands. Bedrooms take one soft general source and two independent reading lights — never a downlight directly over the pillow line. In bathrooms, vertical light at the mirror beats a ceiling point that shadows the face, and the IP zones around water must be observed. At exterior thresholds, a low bollard or wall light marks the entrance sequence, warm and glare-controlled.
Freeze colour temperature early
Mixing colour temperatures by accident is the most visible mistake a scheme can make. Decide once, write it on every schedule line, and hold suppliers to it. Our own standard for residential work is 3000 K across every family — warm enough to feel domestic, neutral enough to render greys and timber honestly.
Write a schedule that survives procurement
The luminaire schedule is where design intent either survives or dies. For each line item record: room and position reference, mounting type, wattage and lumen output, beam angle, colour temperature, CRI, IP class where relevant, finish, dimming protocol, and the exact order code. Attach the photometric file (IES/LDT) for anything that will be calculated. A schedule with real order codes and photometry cannot be silently substituted with equivalent fixtures — and that, more than any drawing, is what protects the result you designed.
Every QAVUN product page carries this data — dimensions, photometry on request, finishes and order codes — precisely so a schedule line can be written in one visit. Build the plan around people, layer the light, zone the controls, freeze the colour, and write the schedule like a contract.